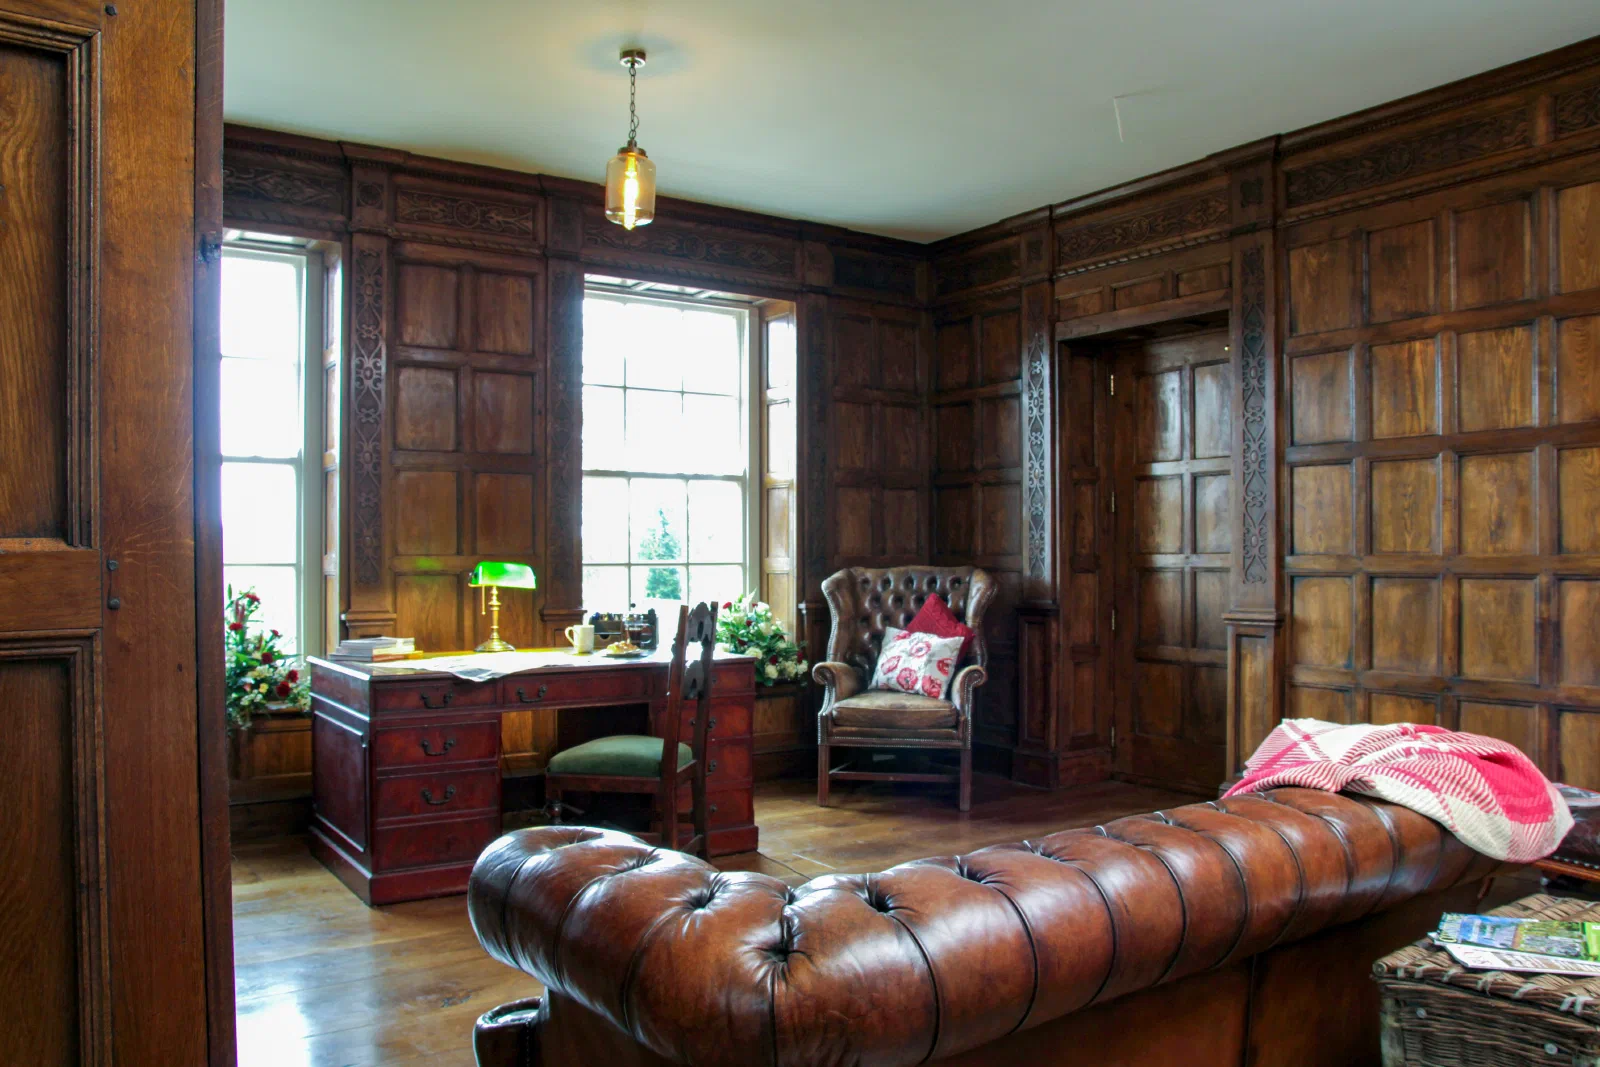
Planning a panelled room is not a matter of selecting a moulding and repeating it across four walls. The success of the scheme depends on how the joinery responds to the building already there: the height of the room, the position of its openings, the importance of the fireplace and the way one elevation meets the next.
This is why the most useful first step is to look carefully at the room before deciding how the panelling should look.
Start with what the room already tells you
Every room has a hierarchy. A fireplace may be its natural centre; a pair of tall windows may set the main divisions; an existing cornice or skirting may reveal the scale of the original joinery. Even an irregular wall can provide useful clues about which elements should be emphasised and which should remain quiet.
Begin by recording the features that cannot be treated in isolation:
- doors, windows and their reveals;
- fireplaces, chimney breasts and overmantels;
- ceiling heights, cornices and skirtings;
- changes in floor or wall level;
- adjoining staircases, fitted furniture and existing joinery;
- radiators, switches, sockets and other practical requirements.
The aim is not to disguise every irregularity. In an older building, variation is often part of the room’s character. The design needs to absorb it without allowing the panel layout to appear accidental.
Decide the extent before the detail
Panelling can run to dado height, fill an entire wall or form part of a wider scheme incorporating doors, shutters, bookcases and fireplace joinery. That first decision has a greater effect on the room than the choice of moulding.
Dado-height panelling can establish a clear horizontal line and give the lower part of a room greater structure. Full-height panelling has a stronger architectural presence and asks for closer coordination with cornices, door heads and window openings. A complete scheme may also continue into a fitted library, window seat or concealed cupboard so that the joinery reads as one composition.
There is no universally correct extent. The right answer comes from the scale of the room, its architectural character and what the joinery needs to achieve.
Set out the panels across every elevation
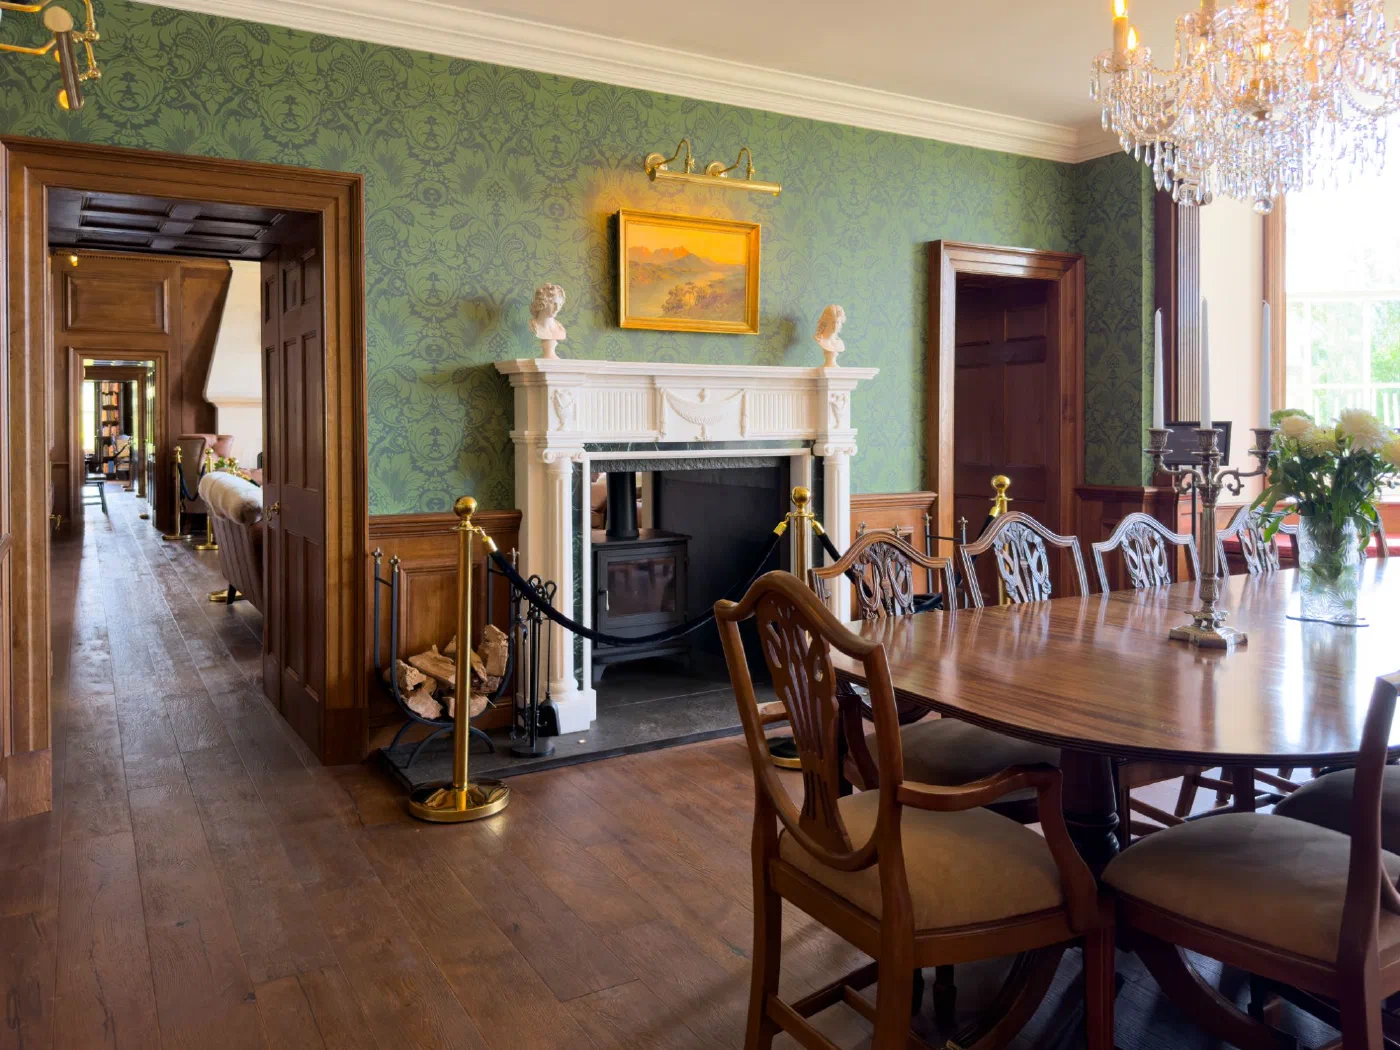
A panelled room is read as a sequence. Stiles establish a vertical rhythm; rails and dado lines connect one wall to the next; panel widths help important elevations feel balanced.
This setting-out should be considered around the whole room, not designed wall by wall. A panel division that looks convincing on a clear elevation may create a narrow remainder beside a doorway or an awkward interruption at a corner. Resolving those relationships early allows the panel layout to continue calmly through the space.
Important features do not always need to sit exactly in the middle of a panel. What matters is that the composition has a clear order and that any departure from symmetry feels deliberate.
Use period references as a design tool
Historically informed work should understand precedent without reproducing it mechanically. Georgian, Victorian and Arts & Crafts interiors use different proportions, moulding profiles and degrees of ornament. Earlier oak rooms have their own weight, depth and relationship between rails, stiles and carved detail.
References can help establish the right architectural language, but they still need to be adapted to the particular building. Ceiling height, room size and surviving joinery all affect how a historic idea should be interpreted. A detail that belongs in a substantial hall may feel too heavy in a smaller study; a restrained panel layout may be more convincing than adding decoration without a clear purpose.
If original joinery survives, its mouldings and proportions may provide the most relevant starting point. New work can then continue that language where appropriate, rather than introducing an unrelated pattern.
Choose material and finish as part of the scheme
Oak and painted panelling create different relationships with a room, but material should not be selected on atmosphere alone.
Oak brings grain, colour and visual depth into the composition. Its panel layout, timber selection and finish need to work together. Painted panelling can sit quietly beside plasterwork and existing painted joinery, or create measured contrast through colour and shadow. Beneath the paint, panel form and moulding profile remain just as important.
The finish should therefore be discussed while the design is developing. It affects how strongly mouldings read, how new work relates to older materials and whether the completed room feels calm, rich or deliberately restrained. Our guides to oak panelled rooms and painted panelling explain these two approaches in more detail.
Resolve practical interruptions before manufacture
Radiators, sockets and switches are easy to treat as later additions. In a successful scheme, they are part of the setting-out from the beginning.
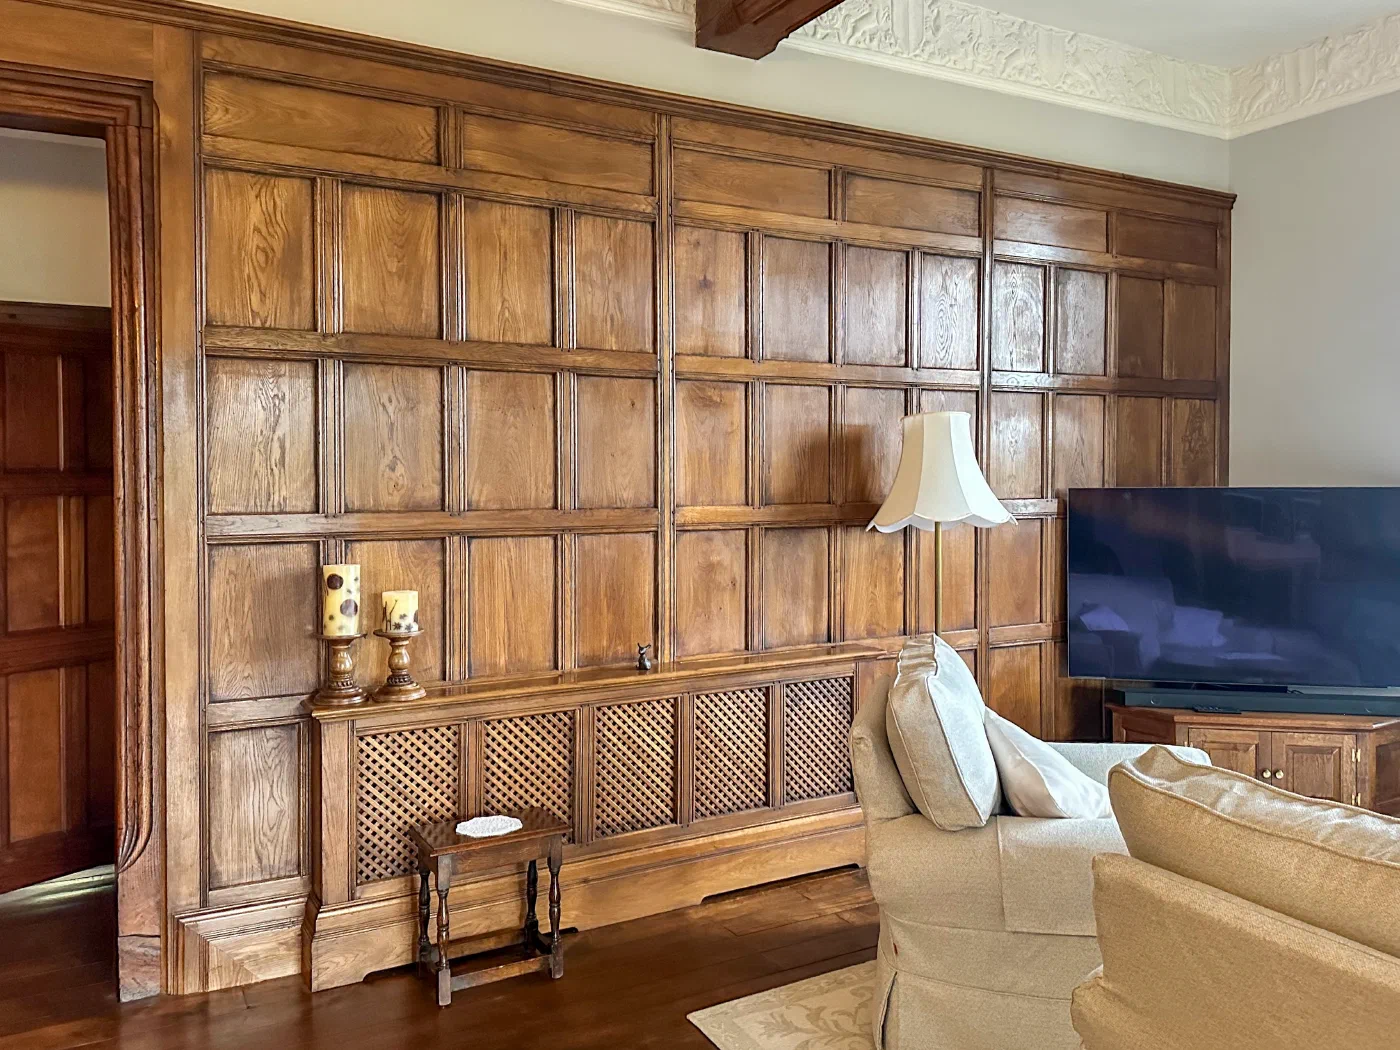
A radiator grille may be integrated into the joinery. A socket can be positioned within a panel rather than cutting awkwardly across a moulding. Door swings, curtains and furniture positions can affect panel widths or the treatment of a window reveal. Thinking through daily use at the drawing stage protects the architectural order of the room and reduces compromises during installation.
This is also the point to coordinate panelling with bookcases, internal doors, fireplaces or other fitted work. Designing adjoining elements together usually gives a more settled result than asking separate pieces to meet after each has been developed independently.
Use drawings to test the room
Workshop drawings allow the main relationships to be assessed before timber is cut. Elevations can show panel divisions, moulding lines, openings and fitted elements together, making it easier to judge proportion and identify difficult junctions.
The drawing is not simply a record for manufacture. It is a design tool: a place to refine the scheme, compare alternatives and make informed decisions while changes remain straightforward.
For a first conversation, useful information includes photographs of every wall, broad room dimensions, plans or elevations where available, and clear images of any existing mouldings that should be retained or matched. It also helps to explain how the room will be used and which practical elements the panelling needs to include.
From there, the design can develop around the building rather than around a standard pattern. To discuss a panelled room, start a conversation with our team.